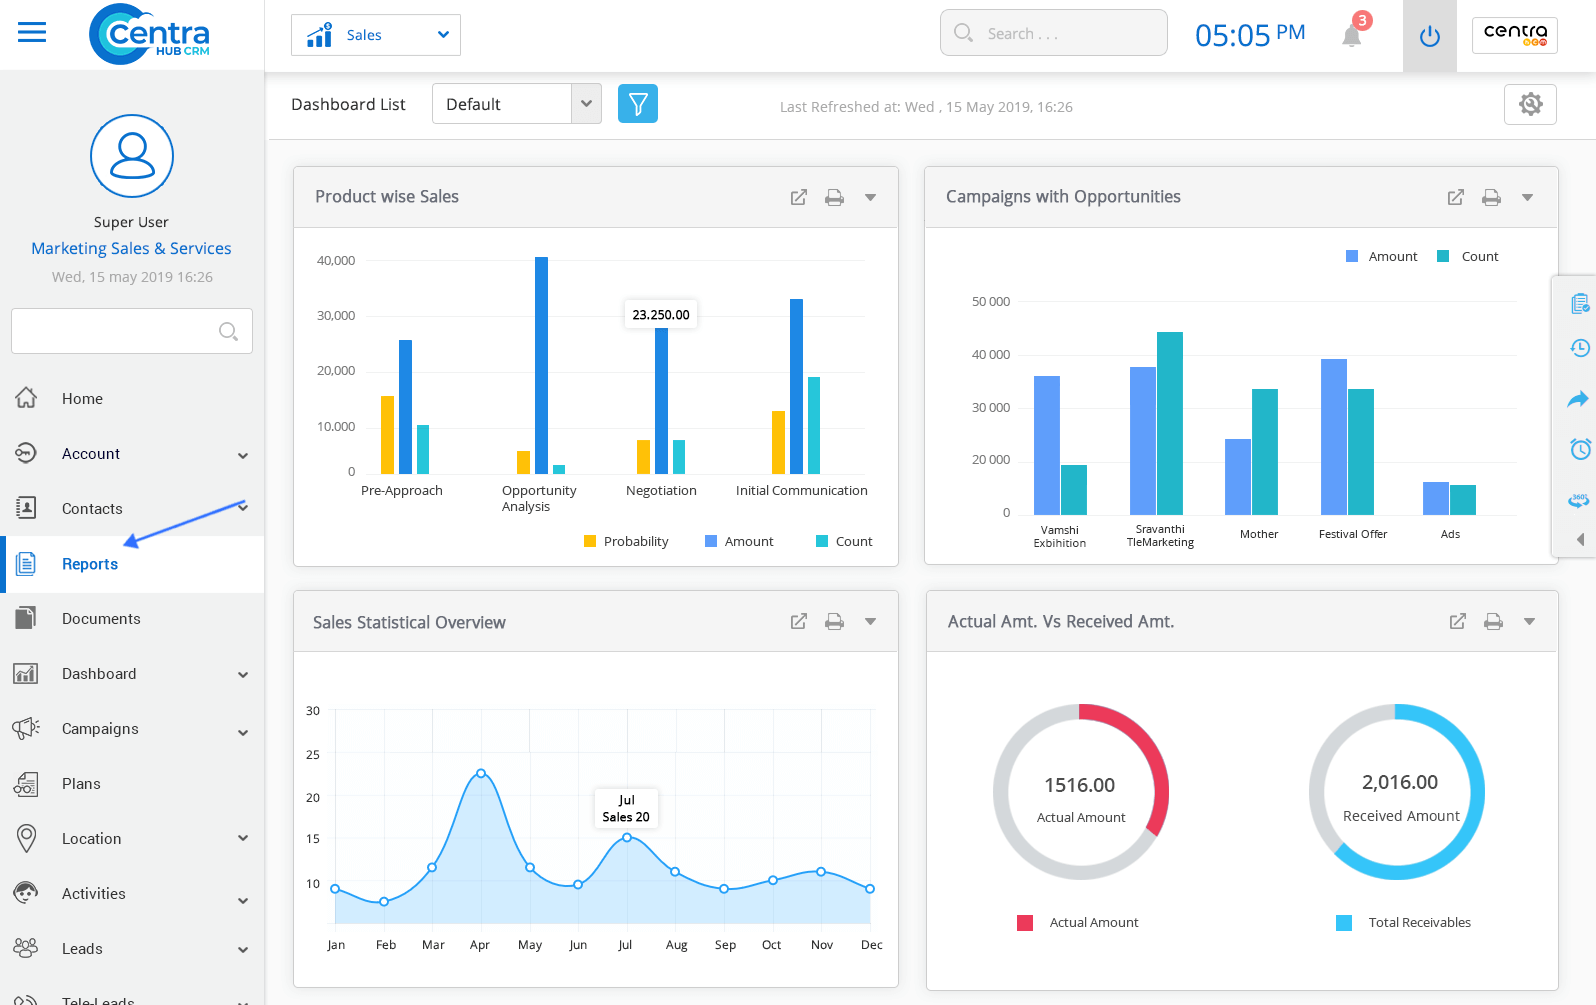


1. Click on the Report Module in the Marketing/Sales Application dashboard menu.
2. The application would display the Reports home page. Click on New Report.
3. Enter the relevant details on the New report homepage.
Enter a name for the new report. This is a mandatory field.
Specify the report type by choosing Summary or Detailed.
Select the type of report in which you want to add your folder.
Add a description for the new report.
Select set:
Select set:
Select a set of reports which are to be available in the new report’s folder. Move the reports from the ‘available’ set to the ‘selected’ set.
Select the Customize tab to customize the report. Customize elements such as report types, columns, grouping, filter criteria etc.
To view the details of the report.
Filter the report based on your requirement.
Add a row limit to the report.
combine different kinds of reports.
In the group style, you could choose between alignment styles (left and center)
Delete the report.
To change the order of column as required.
Sort the reports based on the columns.
Reports could be generated the format of a graph.
4. Click on Save. A New Customized Report would be successfully created.
Get in touch with us for details on setup and additional custom services pricing
CONTACT US


